Managing your imams has never been easier with the “Imams” feature in our ERP system. Whether you’re tracking their roles, updating contact information, or assigning specific duties, this tool provides a straightforward way to keep everything organized and up to date.

The Imam profile includes key fields like Picture, Name, Phone Number, Email, Position, From, To, and Actions. Here’s a breakdown of what each field captures:
- Picture: Upload a photo for each imam, helping you easily identify them within the system and providing a personal touch to their profile.
- Name: Record the full name of each imam for easy reference and identification.
- Phone Number: Store their contact number for quick communication regarding events, updates, or duties.
- Email: Keep their email address on file for efficient digital communication, including announcements or scheduling.
- Position: Specify the imam’s role or position (e.g., Senior Imam, Assistant Imam, etc.) to define their responsibilities within your organization.
- From / To: Track the imam’s term or the duration of their role. This helps to manage their tenure and plan for transitions or renewals.
- Actions: Perform quick actions such as editing imam details, updating their position, or removing their profile from the system when necessary.
By using these fields, you’ll have a comprehensive overview of each imam, ensuring that you can efficiently manage scheduling, communication, and role assignments while maintaining a clear record of their positions.
Adding a new imam to your system is quick and efficient with the “Add New Imam” feature in our ERP system. Whether you’re welcoming a new imam to your community or updating your records, the process is seamless and straightforward.
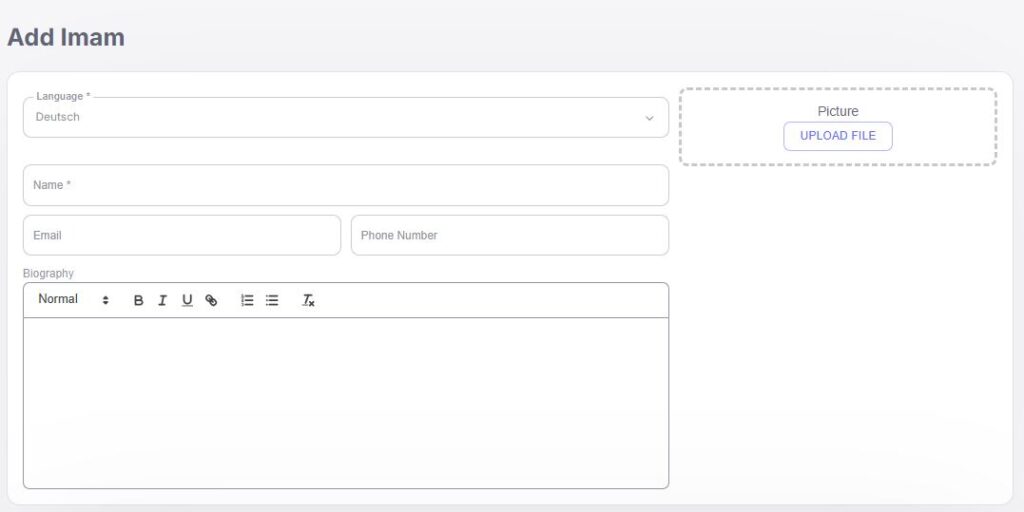
When you add a new imam, you’ll simply need to fill in the essential fields: Picture, Name, Phone Number, Email, Position, From/To Time, and Imam Info. Here’s what each field captures:
- Picture: Upload a photo of the imam to personalize their profile, making it easy to identify them within your system.
- Name: Record the full name of the imam for proper identification and reference.
- Phone Number: Store their phone number for easy communication, whether it’s for scheduling, updates, or emergencies.
- Email: Keep the imam’s email address on file for efficient communication regarding events, meetings, or other important updates.
- Position: Specify the imam’s role (e.g., Head Imam, Assistant Imam, etc.) to clarify their responsibilities and role within your organization.
- From/To Time: Track the start and end dates of the imam’s term or position. This field helps you manage their tenure and schedule future transitions or evaluations.
- Imam Info: Include additional details about their specific duties, responsibilities, or any special notes regarding their position.
With these fields, you’ll have a comprehensive record of each imam’s role and contact information, ensuring that scheduling, communication, and management are both efficient and well-organized.